1.
Install VirtualBox on your Windows, Mac, or Linux desktop computer.
2. Download latest IncrediblePBX-XiVO
.ova image to your desktop from
SourceForge.
3. Double-click on the .ova image to load it into VirtualBox.
When prompted, be sure to check the
Reinitialize the Mac address of all network cards box and then click the
Import button. Once the import is finished, you’ll see a new Incredible PBX virtual machine in your VM List on the VirtualBox Manager Window. We need to make a couple of one-time adjustments to the VirtualBox VM configuration to account for differences in sound and network cards on different host machines.
Single-Click on the Incredible PBX for XiVO Virtual Machine in the VM List. Then click
Settings -> Audio and check the
Enable Audio option and choose your sound card. Save your setup by clicking the
OK button. Next click
Settings -> Network. For Adapter 1, check the
Enable Network Adapter option. From the
Attached to pull-down menu, choose
Bridged Adapter. Then select your network card from the
Name list. Then click
OK. That’s all the configuration that is necessary for your virtual machine. The rest is automagic. Complete setup only takes a minute or two.
Once you’ve imported and configured the Incredible PBX Virtual Machine, you’re ready to go. Highlight IncrediblePBX Virtual Machine in the VM List on the VirtualBox Manager Window and click the
Start button. The boot procedure will begin just as if you had completely installed and set up Incredible PBX for XiVO on a standalone machine. You’ll see a couple of dialogue boxes pop up that explaining keystrokes to move back and forth between host operating system desktop and your virtual machine. Remember, you still have full access to your desktop computer. Incredible PBX for XiVO is merely running as a task in a VirtualBox window. Always gracefully halt Incredible PBX just as you would on a dedicated computer.
Here’s what you need to know. To work in the Incredible PBX Virtual Machine, just left-click your mouse while it is positioned inside the VM window. To return to your host operating system desktop, press the right
Option key on Windows machines or the left
Command key on any Mac. For other operating systems, read the dialogue boxes for instructions on moving around.
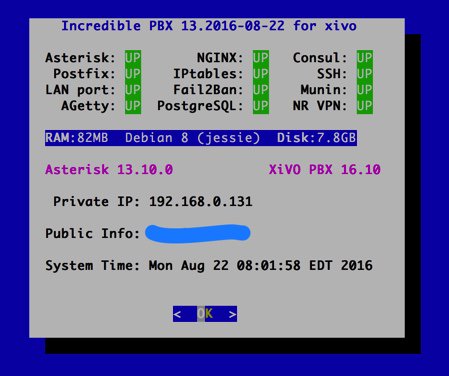
Access the Linux CLI and login as root with the default password:
password. Setup will be completed automatically after you login the first time.
Change your root password immediately: passwd (now handled as part of install)Set your correct time zone: /root/timezone-setup (now handled as part of install)- Add WhiteList entries to firewall if needed: /root/add-ip or /root/add-fqdn
- If you use add-fqdn, remember to add the FQDN entries to /root/ipchecker!
- Store PortKnocker credentials in a safe place: cat /root/knock.FAQ
- Login to your NeoRouter VPN server if desired: /root/nrclientcmd
Change XiVO GUI root password using admin-pw-change: (now handled as part of install)
Once the initial setup is complete, access the XiVO GUI with a web browser.
Username: root
Password: as set during initial install procedure
Continue on with final steps in the
Incredible PBX for XiVO tutorial starting here to create users, trunks, and default routes.
Google Voice scripts already are in place in /root. If you want to set up a
Google Voice OAuth trunk, run:
/root/add-gvtrunk.
Feedback appreciated!


 Phone System